Create delivery orders
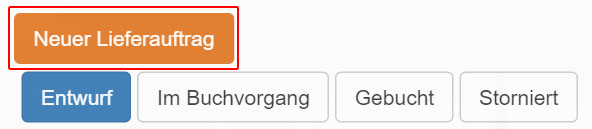
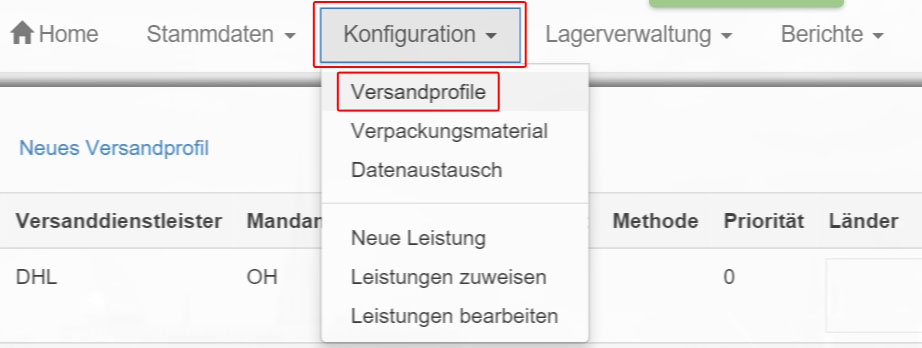
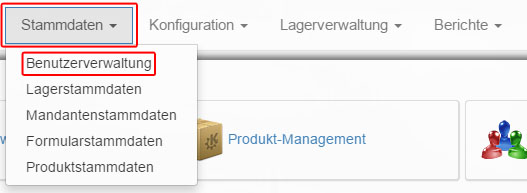
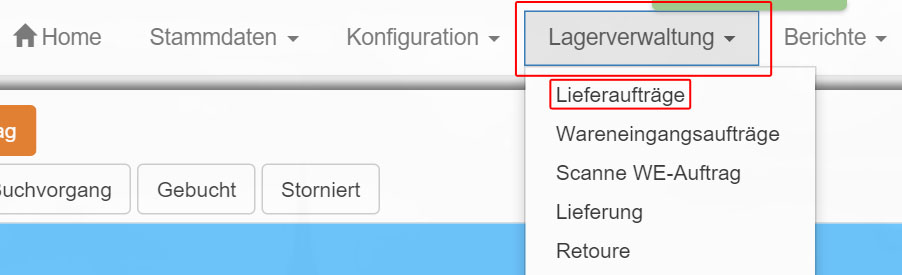
Via “Warehouse management – >delivery orders” you reach lists with all “delivery orders”.
In the first view, only “drafts” of “delivery orders” are displayed. You can only edit drafts. Already booked “delivery orders” can only be viewed.

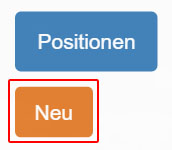
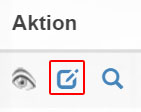
Click the “Edit” icon in the “Actions” column to edit a “Delivery Order”.
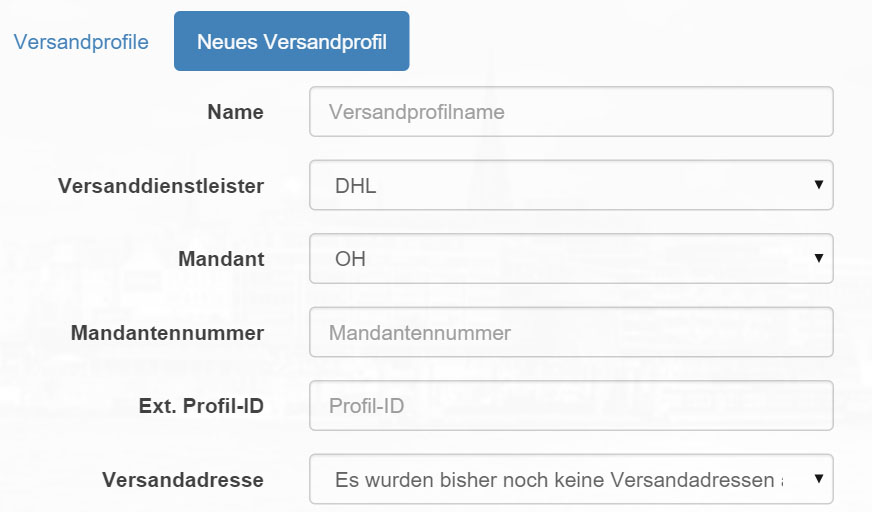
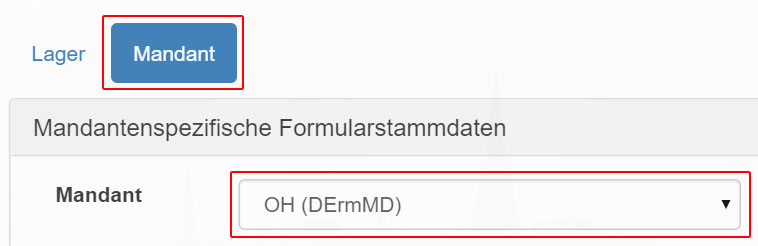
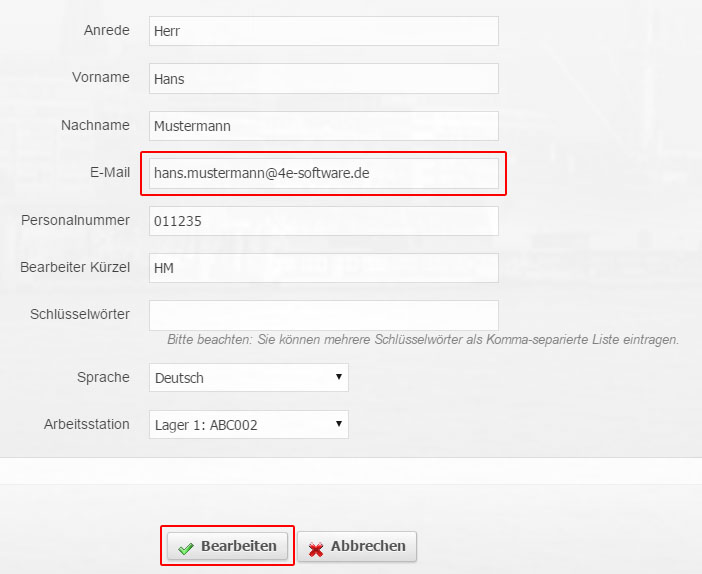
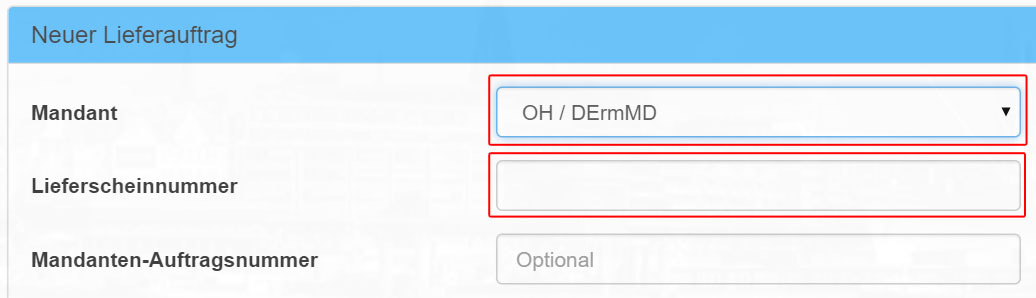
First select a client.
Then enter the delivery note number.
Now click on “Save”.
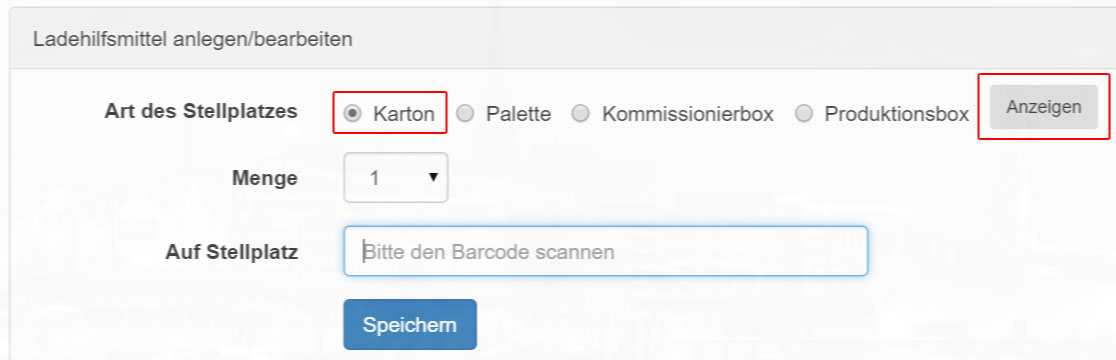
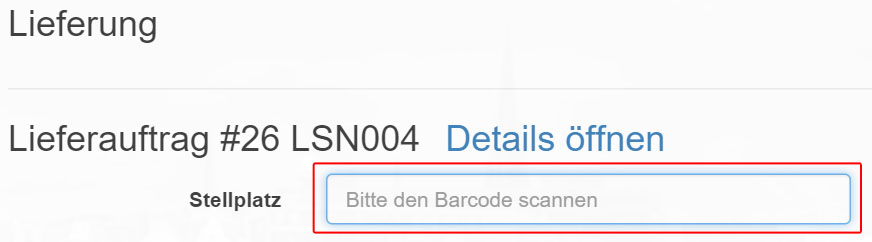
The browser will automatically redirect you. Now enter the barcode number of the “delivery” or scan the barcode with your reader. Confirm the entry.
You will be redirected.
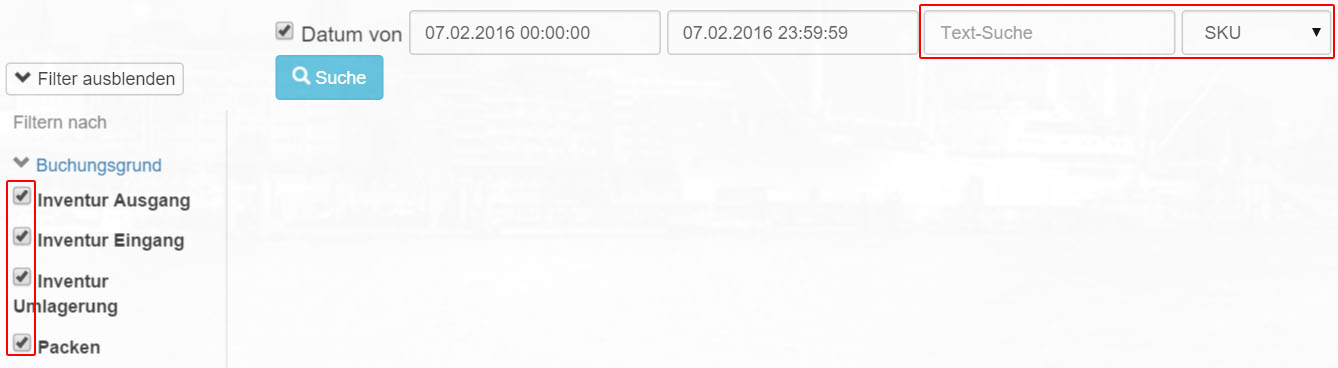
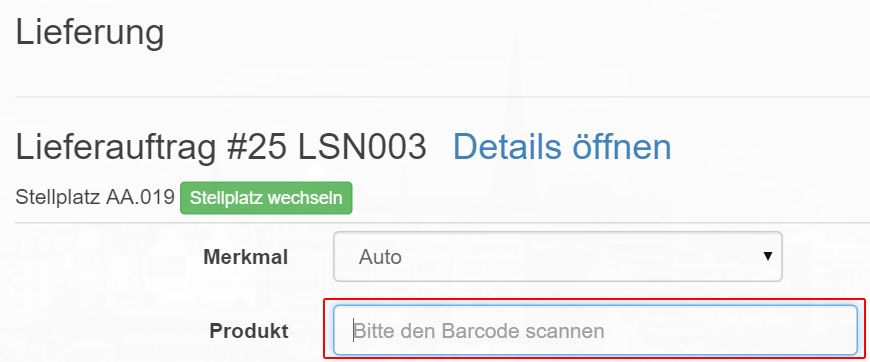
First select a characteristic from the list.
Then enter the “SKU” (article number) in the “product” field or scan the barcode of the product with your reader and confirm your entry.
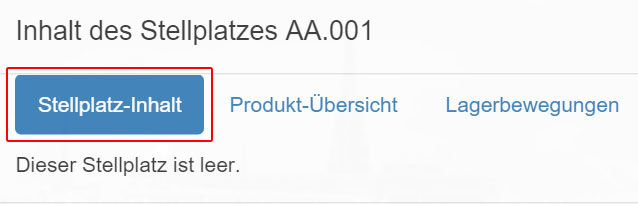
You will now see a rough summary of the data you have created.
Finally, click “Submit” to save the edited record.