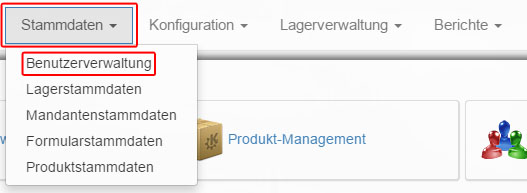
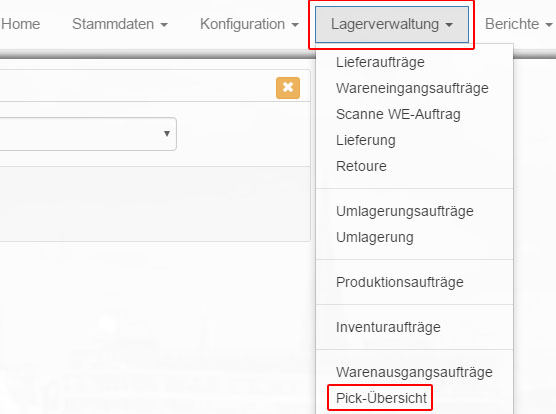
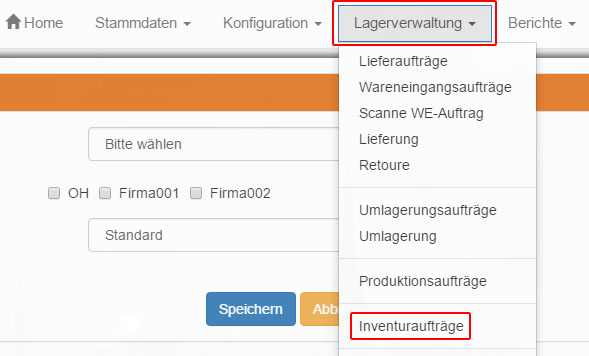
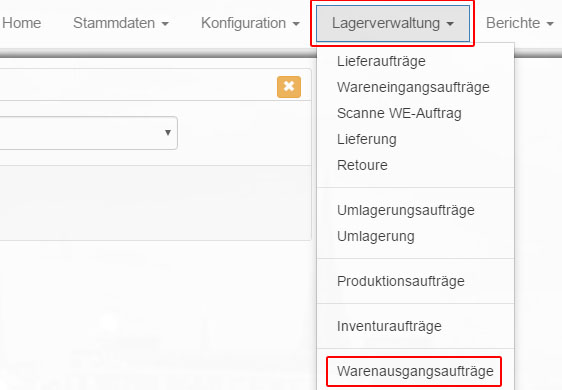
Via “Warehouse Management – >Goods Issue Orders”, you reach a list with all “Goods Issue Orders”.
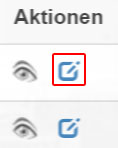
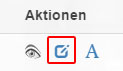
To edit an existing order, click on the “Edit” icon behind the order in the “Actions” column.
The fields “Client”, “Warehouse” and “Client order number” are required to be able to reserve “products” for an “Order” at all.
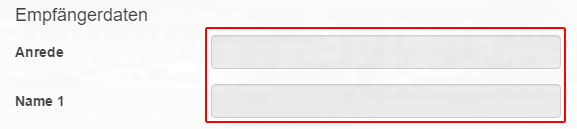
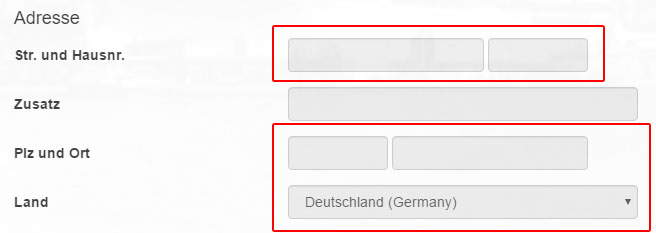
Remember that an order can only be assigned and processed properly if the delivery and address data has been entered.

The order is considered “incomplete” if no recipient and address data are specified and cannot then be processed. Fill in at least these marked fields:
After you have filled in the required fields, click on “Order Item”.
You will now be asked to add “products” of the previously selected “Client” to your order.
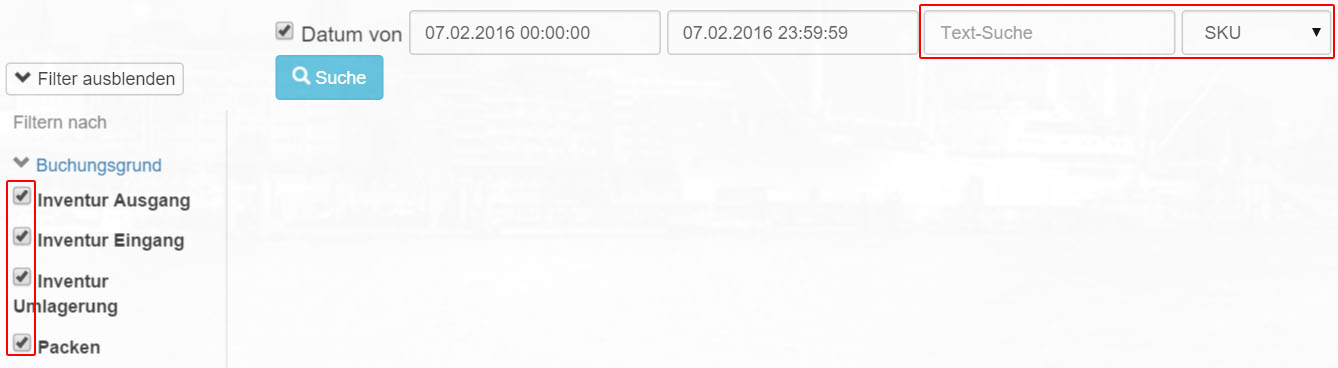
Search for the desired product using the text field. Possible search criteria are “SKU”, “Article name”, “Barcode”, “EAN”, “Size” and “Design number”.
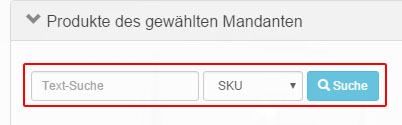
All “products” of the “Client” are now displayed. Add a “product” to the delivery by entering the quantity in the “Auto” column and clicking on the green symbol behind the input field.

Alternatively, you can also reserve “products” in an order via the detailed view of a “product”. To do this, click on the blue circle symbol in the “Show details” column behind a “product”.

Here you can reserve the “product” automatically or on the basis of a “feature”.

Then enter the desired number of “products” to be reserved for the order.

With one click on “Add.” Item information, additional information such as an “order date” or a “unit price” can be added to the reservation.

Click on “Add” to reserve the “product” in the order and then on “Close” to return to your created order.

Click on “Save”.

You will now see a summary of your processed order.
Now you can also have a “picklist” created for your order.
To do this, click on the tab provided.

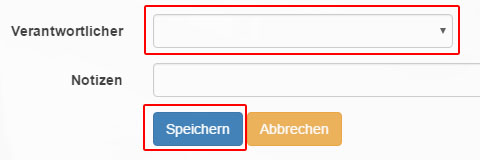
Now enter a responsible person and click on “Save”.