Edit warehouse
Via “Master data- > Warehouse master data” you reach a list with all available warehouses.
You can use the “Filter” function to restrict the list displayed.
In the “Actions” column, behind each warehouse, there is a “Edit” button, which you can use to edit the data of a warehouse.
The field “Warehouse name” must be filled, the other fields may remain empty.
Edit warehouse position
Via Master data- >Warehouse master data, you reach a list with all available warehouses.
In the “Actions” column there is a yellow button which you can use to edit the position of the respective warehouse.
Sie werden nun zur “Positionen”-Maske weitergeleitet.You will now be redirected to the “Positions” screen.
You can use the “Filter” function at the top left to restrict the “stock items” displayed.
In the “Action” column, click the “Edit” button for a specific “Stock item” to be able to edit it.
The field “Position name” must be filled, the remaining fields may remain empty. The “Barcode” field cannot be overwritten.
After you have modified a record, click “Edit” to save it.
Create warehouse
Create manufacturing orders
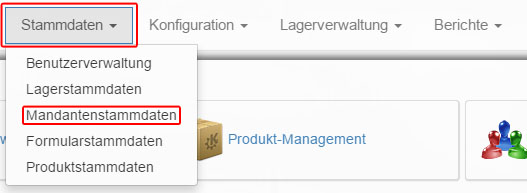
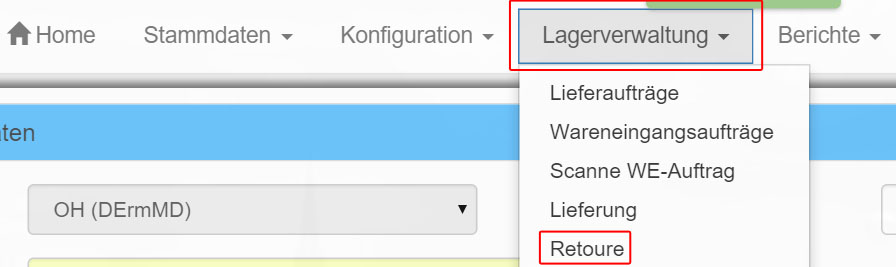
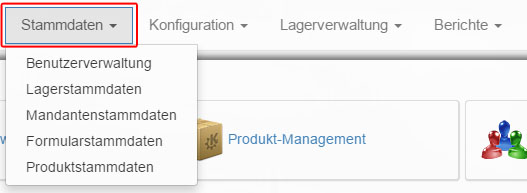
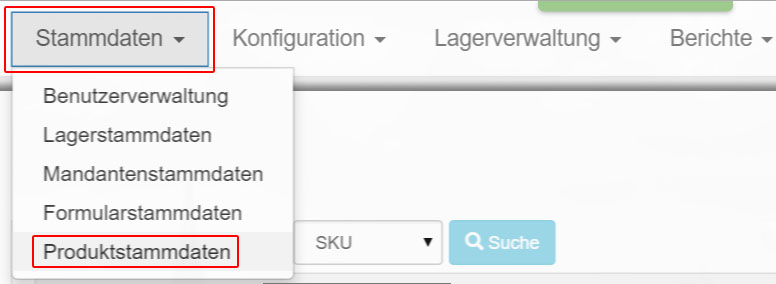
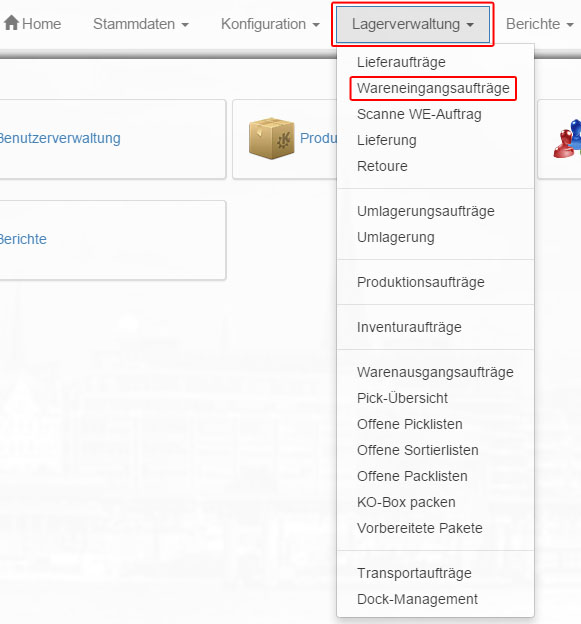
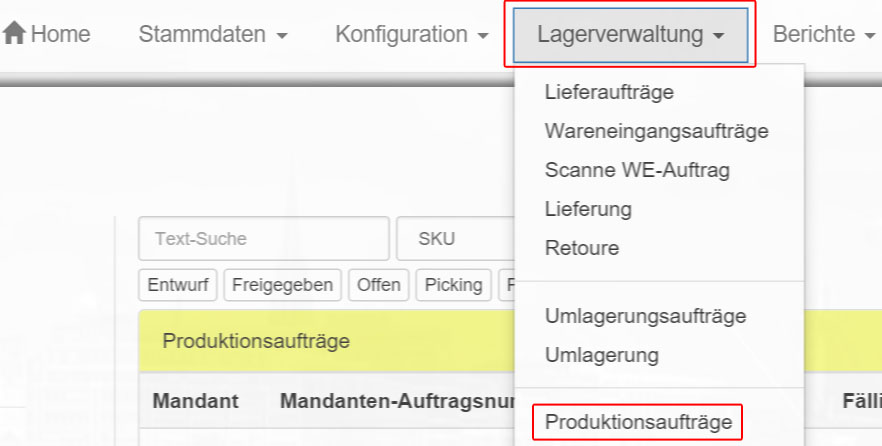
Via “Warehouse Management – > production Orders” you reach a list with all current “production Orders”.
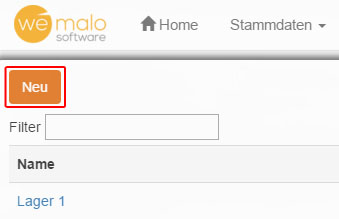
Click New Order to create a new production Order.
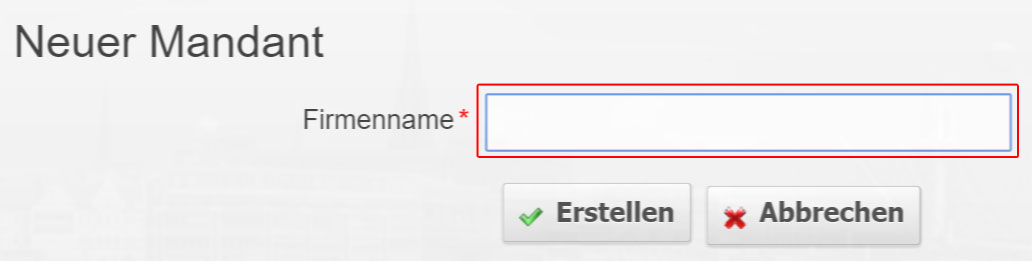
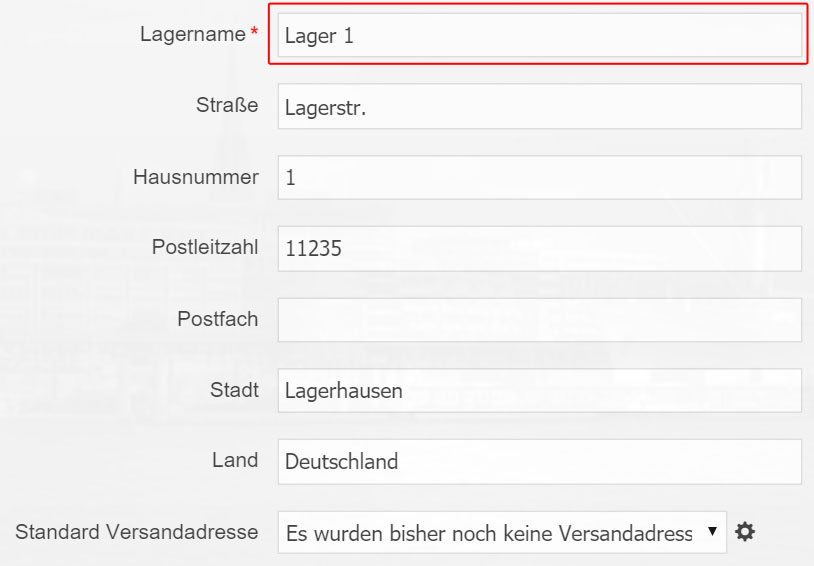
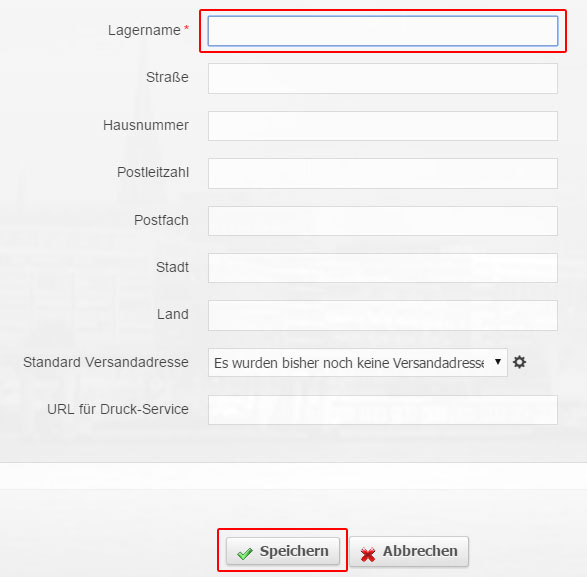
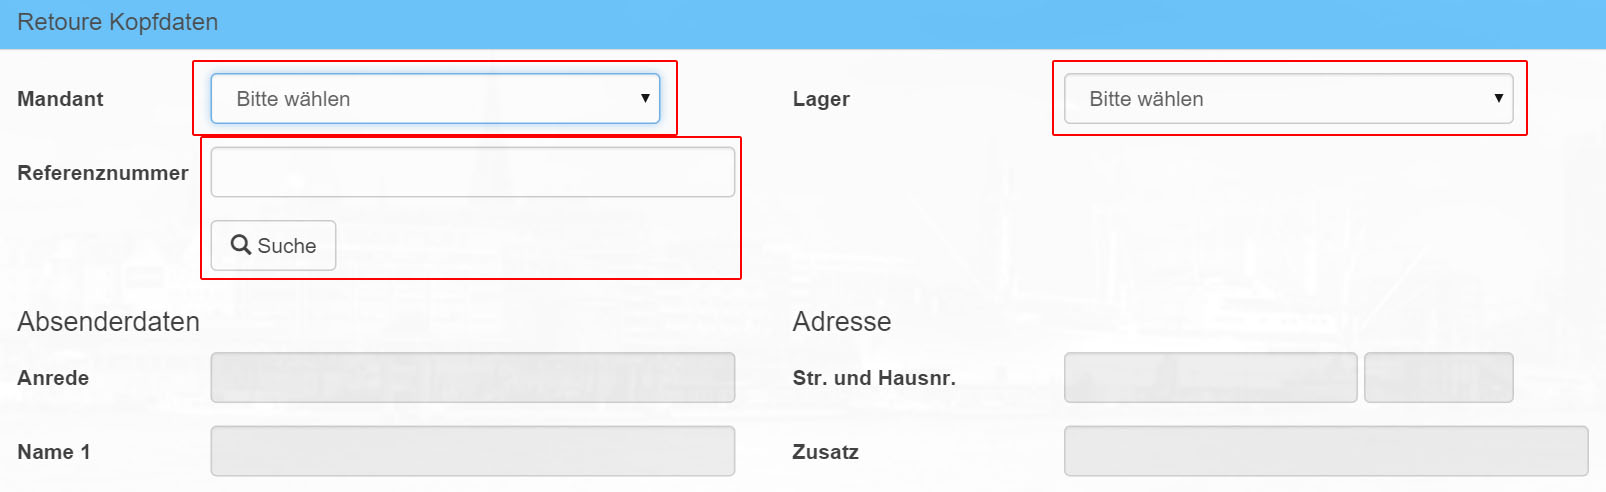
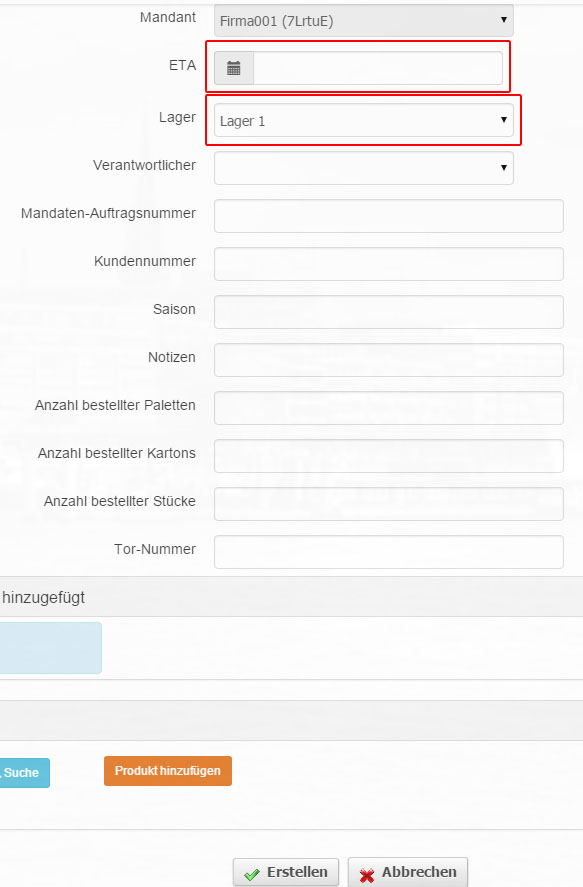
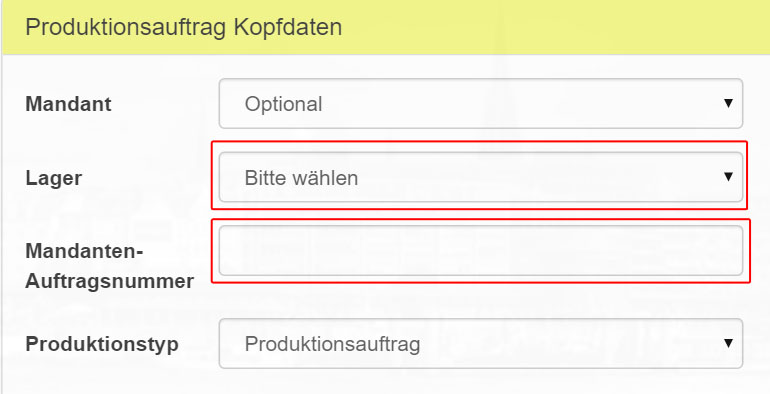
Now select a “warehouse” and enter a “client order number”. The remaining fields are optional.
You now have the option of saving the “empty” “production order”. Alternatively, you can add products to it by clicking on “Contents”.
…or….
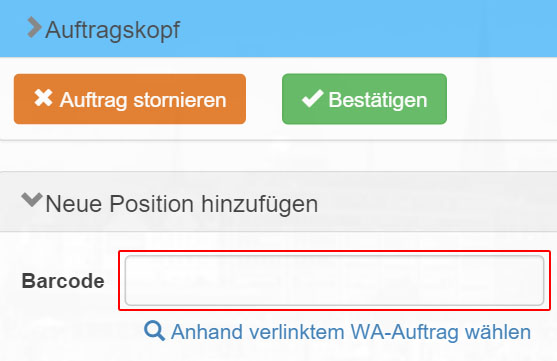
Now click on “Add content”.
Use the “Search” to find the desired article.
You can differentiate between “SKU”, “article name”, “barcode”, “EAN”, “size” and “design number” in the “search”.
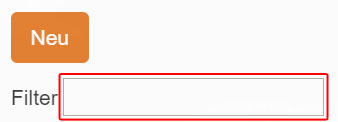
Use the “Filter” function on the left to limit the results displayed.
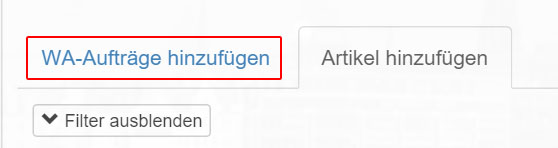
You can also read products from “Goods Issue Orders” to create “production Orders”. Click on “Add WA orders”.
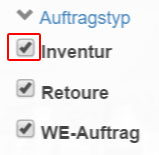
Here you can use the “Filter” and “search” options. Additional search criteria are available here: “Client Order Number”, “Category”, “Run”, “Shipping Provider” and “Extra Info”.
Click on the desired order, and then on “Add Selection” to add the desired item to your production order.
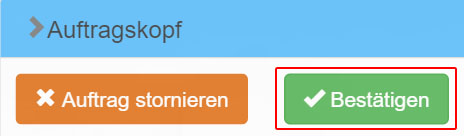
Finally click on “Save”.
Create return
Return orders can be created via “Warehouse management – > Retour”.
First select a client and a warehouse, then use the reference number to search for a goods issue order and mark it for return. If the reference number is known, the remaining data is added automatically, otherwise you must enter it manually.
Also specify a return date.
You will now be prompted to enter the barcode of a current “goods issue order”. Alternatively, you can click on the blue text below and select the order from a list of current orders. Confirm your entry.
Now click on “Confirm”.
Finally, click “Close Job” to complete the procedure. Your record is now saved.
master data
Create products
Via “Master data- > product master data” you can access all known products.
Via “Create new product” you can create products that are not yet listed.
First select a “client”.
For each new product a “SKU” (article number) must be entered, the remaining fields may remain empty.
Scroll all the way down to save the new record.
Create goods receipt order
Via “Warehouse management – > Goods receipt orders – > New order” a new goods receipt order can be created.
First, you must select the client for which the request is to be created.
Subsequently, an ETA (the expected delivery date) and the warehouse must be selected. The other fields are optional and can be filled as required (for example, client order number or customer number).
Products must then be added to the goods receipt order. Products can be searched either by SKU, EAN, internal barcode, size, design or item name. A quantity must be stored for each item.